 Pin it
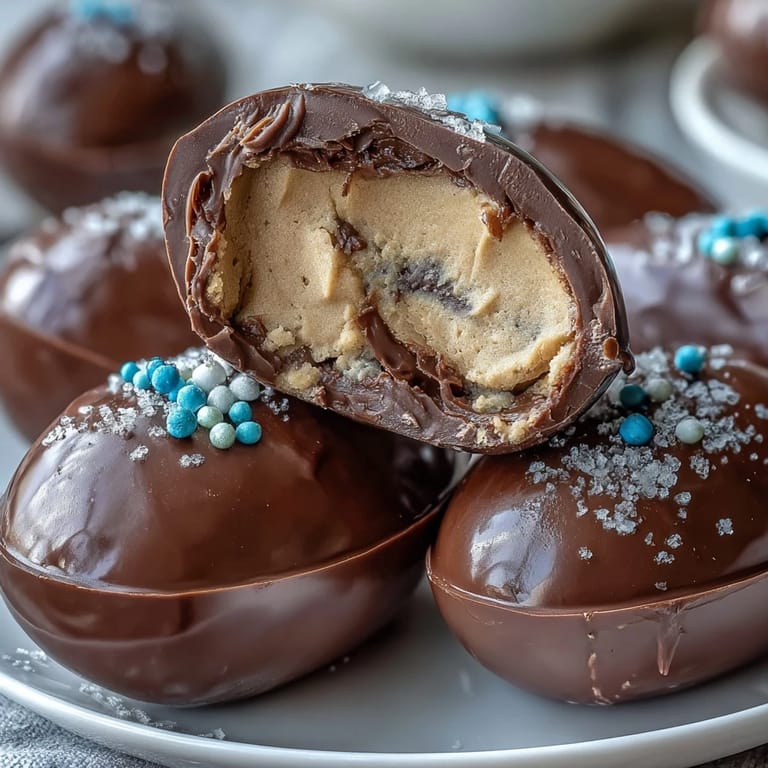
 The satisfying snap of chocolate coating hitting a cool counter is a sound I connect with early spring. Making these homemade peanut butter Easter eggs has become something of a pre-holiday ritual in my kitchen, the kind that transforms an ordinary day. Peanut butter perfumes the air, mingling with sweet anticipation, as I sneak a taste of the creamy mixture—pure decadence before it dips into glossy chocolate. Even the act of shaping the eggs by hand feels oddly meditative, as if infusing each one with a bit of personality. It's not about perfection, but the joy that comes from molding treat after treat, right at home.
Last spring, eager helpers gathered around my counter, vying to dip just one more peanut butter egg in the chocolate. My niece accidentally dropped hers straight into the bowl, emerging with a perfectly lopsided, heavily coated masterpiece that everyone agreed was the best of the batch. That sense of playful competition fueled the whole process, each of us dusted with powdered sugar and grinning over sticky fingers. These moments aren't scripted—they just stick with you, as surely as melted chocolate gets everywhere when the kitchen is full. By the end, the eggs were as unique as the people who made them.
Ingredients
- Creamy peanut butter: The star of the show—opt for the smooth variety for classic texture, but crunchy works if you crave a little bite.
- Unsalted butter: Make sure it's softened, as it blends seamlessly and creates an extra creamy filling.
- Powdered sugar: Adds sweetness and turns the filling thick enough to mold—sift it first if it's clumpy.
- Vanilla extract: Just half a teaspoon brings out the peanut flavor with a subtle warmth.
- Salt: Don't skip this; it sharpens the flavor and keeps things from being too sweet.
- Chocolate chips (semisweet or milk): The outer shell needs to be generous, so pick your favorite or mix both for depth.
- Coconut oil or vegetable shortening: A little goes a long way in creating a glossy, snappy chocolate coating.
- Sprinkles or colored candy melts: Optional, but who can resist a bit of festive decoration (my tip: let kids pick their favorites for day-brightening variety).
Tired of Takeout? 🥡
Get 10 meals you can make faster than delivery arrives. Seriously.
One email. No spam. Unsubscribe anytime.
Instructions
- Whip Up the Filling:
- In a large bowl, beat together peanut butter, softened butter, vanilla, and salt until it looks silky and light—don't rush, let it get fluffy.
- Add Sweetness and Structure:
- Gradually sprinkle in the powdered sugar while mixing, stopping when the dough is thick, not sticky, and easy to shape by hand.
- Shape the Eggs:
- Scoop heaping spoonfuls and roll them into egg shapes; it helps to dust your palms with powdered sugar if things get too sticky.
- Chill Out:
- Arrange the eggs on a parchment-lined baking sheet and pop them in the freezer for 30 minutes—they'll firm up nicely for dipping.
- Melt the Chocolate:
- Combine chocolate chips and coconut oil in a microwave-safe bowl, heat in 30-second bursts, and stir between each—stop as soon as it's smooth and shiny.
- Dunk and Coat:
- Use a fork to lower each egg into melted chocolate, lift to let excess drip off, then return to the parchment; if they wobble, just nudge them back into shape.
- Decorate:
- Quickly scatter sprinkles or drizzle with colored candy melts before the chocolate sets for a festive finish.
- Final Chill:
- Slide the tray into the refrigerator for 15 minutes, just long enough to set everything into irresistible treats.
 Pin it
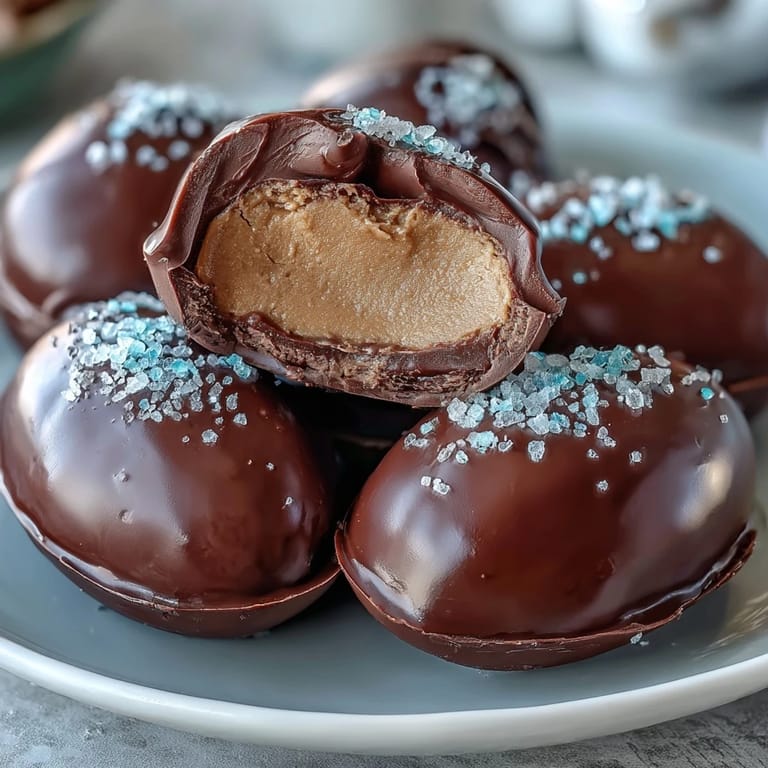
 There was an afternoon when my friend stopped by unexpectedly, and I offered her a peanut butter egg straight from the fridge. We ended up sitting by the window trading stories, laughing over smudged chocolate mouths while watching blue jays dart around the budding trees—it was a tiny, unplanned celebration, fueled by homemade candy.
How to Store and Keep Them Fresh
Experience has taught me that these eggs are best kept in an airtight container in the refrigerator, so the chocolate stays crisp and the filling creamy. If you’re making them ahead, placing a sheet of parchment between layers keeps them picture-perfect.
Swapping Ingredients for Fun Variations
Dipping into dark chocolate creates a bolder, grown-up version, while white chocolate with rainbow sprinkles makes them instantly festive for any spring gathering. I’ve also discovered that almond butter stands in beautifully if you want to try a different nutty twist—just adjust the sweetness a bit as needed.
Secrets to Shaping and Dipping Like a Pro
The best results come from working with cold dough and getting your chocolate nicely fluid but not hot to the touch. I’ve tried scooping with a measuring tablespoon for uniform eggs, and rolling between my palms until smooth for that homey, just-right look.
- If the dough gets too warm, pop it back in the freezer for a few minutes.
- Two forks work well for dipping if you want less chocolate pooling underneath.
- Clean up any chocolate “feet” with a small offset spatula once set.
 Pin it
 Making homemade peanut butter eggs brings a bit of spring magic right into your kitchen. Share them, savor them, or tuck a few away for yourself—you’ve earned it.
Recipe FAQs
- → How do I get a smooth peanut butter filling?
Ensure butter is well softened before mixing with peanut butter and vanilla. Beat until creamy for a smooth filling.
- → Can I use crunchy peanut butter instead?
Yes, crunchy peanut butter adds texture and extra crunch for a fun variation on the classic filling.
- → What’s the best way to coat the eggs in chocolate?
Use a fork to dip chilled egg shapes into melted chocolate, letting excess drip off before placing on parchment paper.
- → How should I store these chocolate peanut butter eggs?
Keep eggs in an airtight container in the refrigerator. This keeps them firm and fresh for up to two weeks.
- → Do I need any special kitchen tools?
You’ll need mixing bowls, an electric mixer or sturdy spoon, baking sheet, parchment paper, and a microwave-safe bowl.
- → Can I use different types of chocolate for coating?
Absolutely. Dark, milk, or white chocolate all work well, letting you customize flavor and appearance.