 Pin it
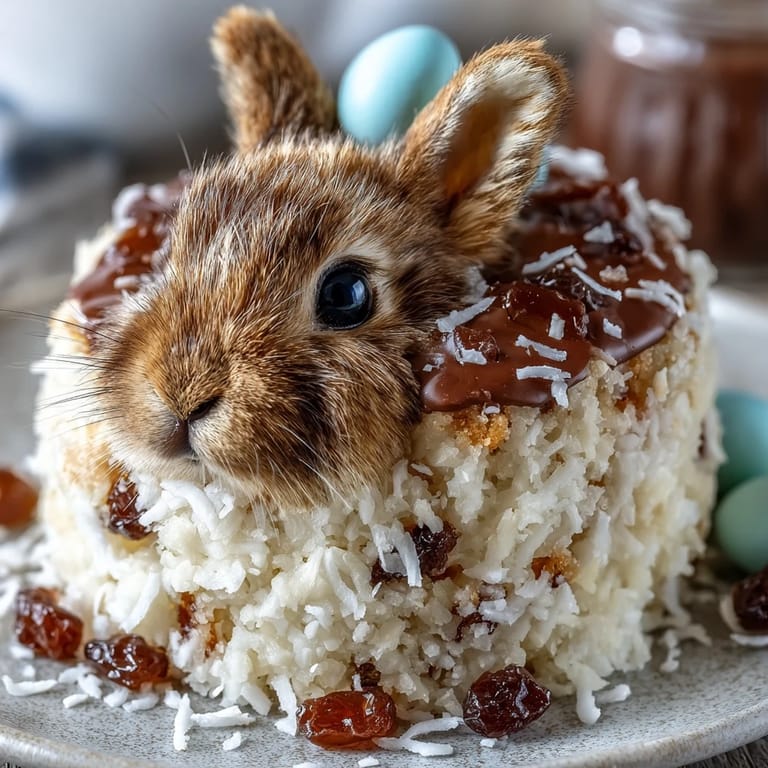
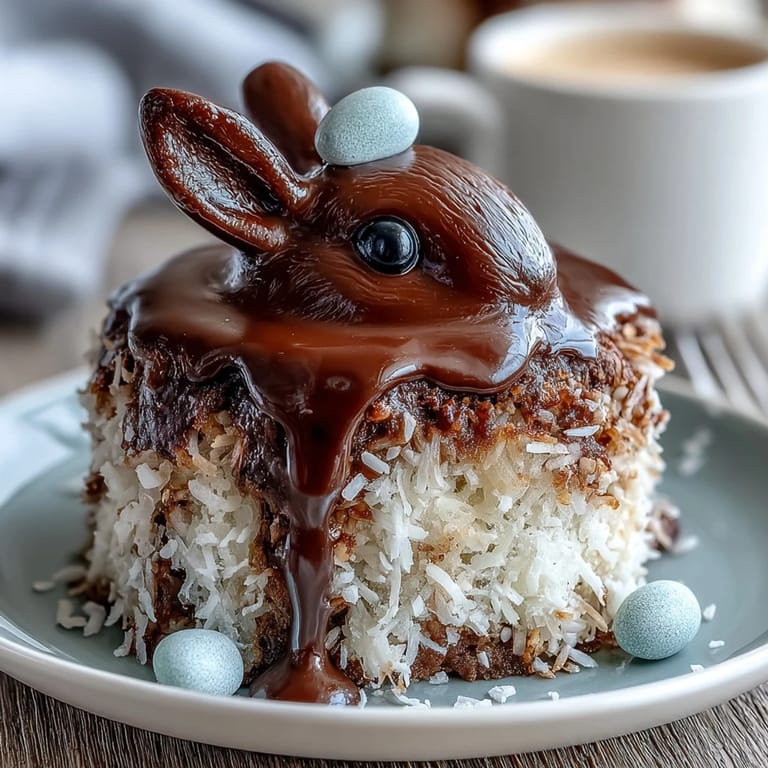
 My daughter pressed her nose against the bakery window, mesmerized by a bunny cake covered in white fluffy coconut. That Easter, I decided to recreate the magic at home, armed with nothing but determination and a vague memory of her awestruck face. What started as an ambitious Sunday project became a tradition—one where the kitchen fills with coconut dust, jelly beans scatter across the counter, and somehow, every year, the bunny looks a little more lopsided and a lot more loved. This cake isn't about perfection; it's about the joy of building something whimsical with your own hands.
I'll never forget watching my niece carefully place each jelly bean "paw pad" with the seriousness of a surgeon. She giggled at how the pink jelly bean tail kept sliding off, and we had to anchor it three times before it stayed put. In that moment, surrounded by coconut shavings and sticky fingers, I realized this cake was less about impressing anyone and more about creating a memory together. That's when baking stopped being a task and became storytelling.
Ingredients
- All-purpose flour (2 1/2 cups): The foundation of a tender crumb; sifting it prevents dense pockets that can surprise you mid-bite.
- Baking powder and baking soda (2 1/2 tsp and 1/2 tsp): This dynamic duo creates the lightness that makes each slice feel cloud-like rather than heavy.
- Salt (1/2 tsp): A pinch that amplifies sweetness and keeps the vanilla from tasting one-dimensional.
- Unsalted butter, softened (1 cup for cake, 1 cup for frosting): Room-temperature butter creams properly; cold butter fights back and leaves you frustrated.
- Granulated sugar (1 3/4 cups): The grains dissolve into silky sweetness when beaten with butter, creating that signature tender crumb.
- Eggs, room temperature (4 large): Cold eggs refuse to blend smoothly and can curdle your batter; let them sit on the counter while you prep.
- Vanilla extract (1 tbsp for cake, 2 tsp for frosting): Pure vanilla deepens the flavor; extract (not powder) disperses evenly throughout.
- Whole milk (1 cup): Adds moisture and tenderness; some bakers swear by buttermilk for tang, but whole milk keeps this cake classically sweet.
- Powdered sugar, sifted (4 cups for frosting): Sifting removes lumps that create gritty frosting; take the extra minute, your frosting will thank you.
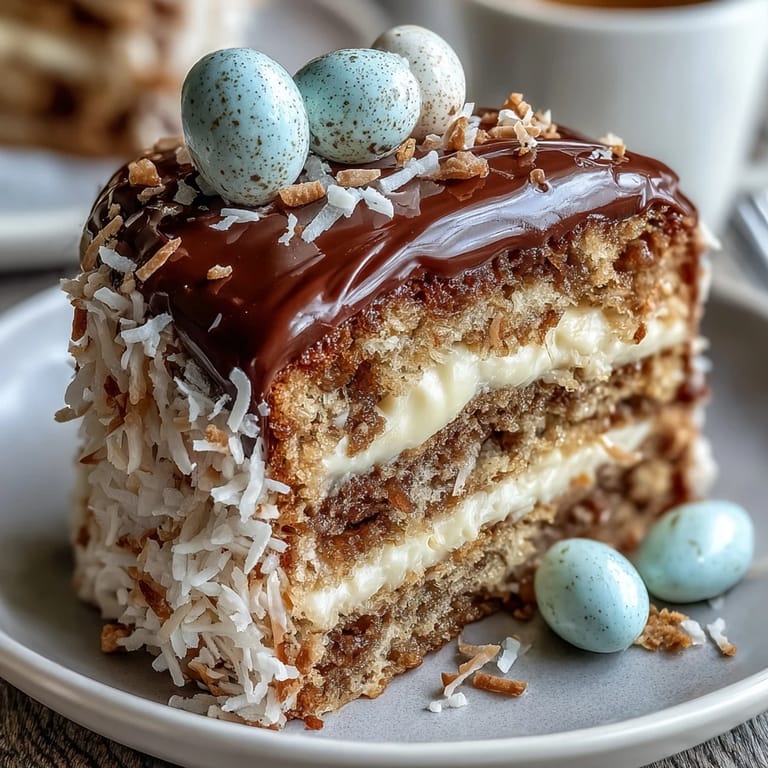
- Sweetened shredded coconut (2 cups): The star of the show; it creates the bunny's fur and hides every frosting wobble with charming texture.
- Jelly beans (1 large pink for tail, 4 white and 4 pink small for paws, 2 black or chocolate chips for eyes): These small touches transform a cake into a character; choose ones that won't bleed color into the coconut.
Tired of Takeout? 🥡
Get 10 meals you can make faster than delivery arrives. Seriously.
One email. No spam. Unsubscribe anytime.
Instructions
- Heat your oven and prep your stage:
- Preheat to 350°F and grease those two 8-inch pans generously; a little extra butter here prevents sticking disasters. Dust with flour so nothing surprises you when you turn the cake out.
- Combine your dry ingredients:
- Whisk flour, baking powder, baking soda, and salt together in a medium bowl, making sure everything is evenly distributed. This step prevents pockets of baking soda that taste metallic or flat spots where rising didn't happen.
- Cream butter and sugar into fluffy clouds:
- Beat softened butter and sugar in a large bowl for 2–3 minutes until it looks pale and airy. This is where the magic happens; you're not just mixing, you're incorporating air that makes the final cake tender.
- Introduce eggs one at a time:
- Add each egg individually, beating well after each addition, then pour in vanilla. Rushing this step leaves you with a separated, curdled-looking batter that still bakes fine but feels like a small failure.
- Alternate flour and milk gently:
- Add about a third of the flour mixture, beat until just combined, then add half the milk, then another third of flour, the rest of the milk, and finally the last flour portion. Always start and end with flour; this prevents the batter from breaking and keeps everything balanced.
- Divide and bake with confidence:
- Split batter evenly between pans and smooth the tops. Bake 30–35 minutes until a toothpick comes out clean; your kitchen will smell impossibly buttery and vanilla-sweet.
- Cool with patience:
- Let cakes rest in pans for 10 minutes, then transfer to a wire rack for complete cooling. Frosting warm cake is a recipe for melted mess; cold cake is your canvas.
- Whip frosting to spreadable perfection:
- Beat softened butter until creamy, gradually add sifted powdered sugar, then vanilla and milk until the consistency spreads smoothly. If it's too stiff, a tablespoon of milk transforms it; if too soft, a bit more powdered sugar saves the day.
- Sculpt your bunny body:
- Place one whole cake round on your serving platter for the body. Cut the second round in half and stand those semicircles upright at one end, securing them with frosting to create the head and back.
- Cut and attach ears and paws:
- From leftover cake pieces, knife-cut two ear shapes and two paw shapes, then frost them onto the bunny body. Don't worry if they're wonky; that's the charm.
- Frost the entire creation:
- Cover every surface generously with frosting, smoothing as you go. This frosting layer is what holds the coconut and prevents dry cake from showing through.
- Press coconut fur all over:
- Take handfuls of shredded coconut and press them firmly into the frosting, covering the whole bunny. Work in sections so the frosting doesn't dry before you add coconut.
- Add the finishing personality touches:
- Place the pink jelly bean tail on the back, white jelly beans on the paws with pink jelly bean pads in the centers, and chocolate chips for eyes. If you want, tint some coconut pink and accent the ears for extra charm.
- Chill before serving:
- Refrigerate until ready to serve; this helps everything set and makes the cake easier to slice cleanly.
 Pin it
 Years later, I found a photo of that first lopsided bunny cake tucked in an old cookbook. The ears drooped, the frosting was uneven, and somehow the jelly bean eyes were looking in different directions—but my daughter's smile in that picture is the proudest I've ever seen her. Food becomes memory when it's made with intention and accepted imperfection.
Why This Cake Works for Spring Celebrations
There's something about a bunny-shaped dessert that signals celebration and springtime in a way no rectangular sheet cake ever could. The shape alone tells a story—it's playful, it's intentional, and it shows you cared enough to do something unexpected. Whether it's Easter brunch, a spring baby shower, or just a Sunday when you want to surprise your household, this cake transforms an ordinary meal into an occasion.
The Coconut Fur Secret
I discovered by accident that if you lightly toast the coconut in a dry skillet before pressing it onto the frosting, it adds a subtle nutty depth and becomes slightly crispier on the outside while staying chewy inside. This tiny step transforms simple shredded coconut into something that feels more intentional, more crafted. The coconut also serves a practical purpose—it forgives uneven frosting and creates natural texture that looks intentionally rustic rather than sloppy.
Making It Your Own
This cake is a template, not a prescription. I've added lemon zest to the batter for brightness, swapped vanilla with almond extract for nuttiness, and even tinted the frosting pale pink to match the jelly bean accents. The beauty of a novelty cake is that it celebrates personality—your bunny can have a larger tail, bigger ears, or eyes made from candies that mean something to you. The magic isn't in perfection; it's in the choices you make to make it yours.
- If you're short on time, use a quality store-bought mix and pre-made frosting without guilt—the decorating is where your effort shows.
- Double-check jelly beans for color-bleeding before pressing them into coconut, or they'll stain it muddied brown.
- Keep the cake chilled until the last moment before serving so the frosting stays firm and the coconut doesn't slide.
 Pin it
 Baking a bunny cake teaches you that food is as much about the feeling it creates as the taste it delivers. Every wonky ear and lopsided jelly bean is a small victory in the kitchen, proof that you showed up and tried something joyful.
Recipe FAQs
- → How do I achieve the fluffy coconut fur effect?
After frosting the cake, gently press sweetened shredded coconut onto the surface to mimic fluffy fur texture. Tint some coconut with pink food coloring for added ear detail.
- → What is the best way to shape the bunny form?
Use two round cake layers: one whole as the body, and the other cut into semicircles for the back and head. Attach ears and paws cut from cake pieces with frosting for stability.
- → Can this cake be prepared ahead of time?
Yes, bake and cool the cake layers earlier, then assemble and decorate closer to serving to maintain freshness and structure.
- → What alternatives exist for decorating the bunny's eyes?
Mini chocolate chips or black jelly beans work well for eyes, adding detail and contrast against the coconut fur.
- → Are there options to modify the cake flavor?
Additional flavors like lemon or almond extract can be added to the batter to enhance taste while keeping the texture moist.