 Pin it
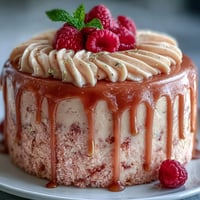
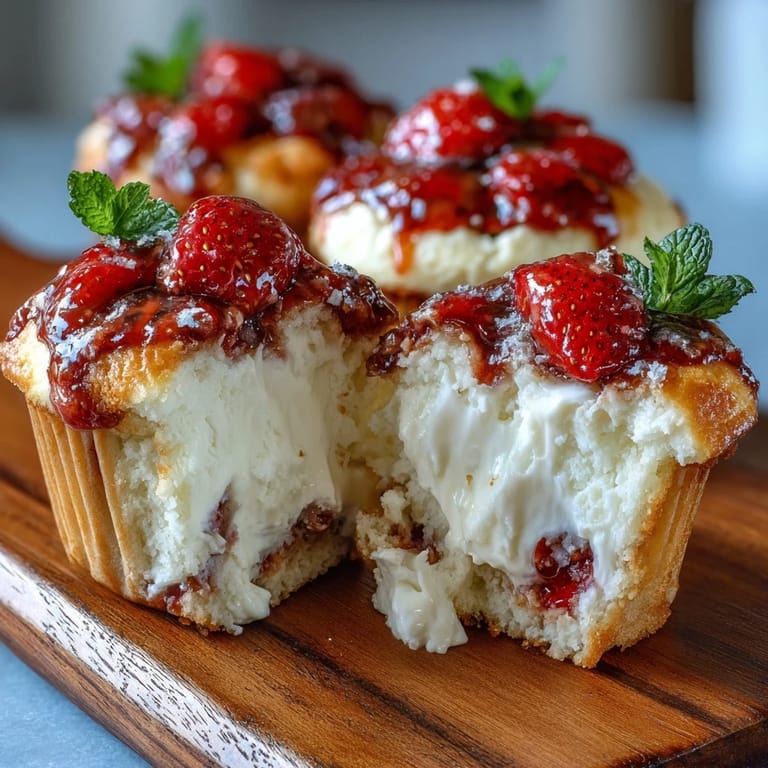
 My neighbor knocked on my door one Saturday morning with a basket of strawberries she'd picked fresh from her garden, and I suddenly felt that familiar kitchen itch—the kind that demands butter, flour, and something sweet. These cream cheese swirled muffins became my answer, though I'll admit the first batch went a bit brown at the edges because I got distracted chatting with her on the porch. Now they're the one thing she requests whenever June rolls around, and honestly, I love having an excuse to fill the kitchen with this particular combination of vanilla and ripe berries.
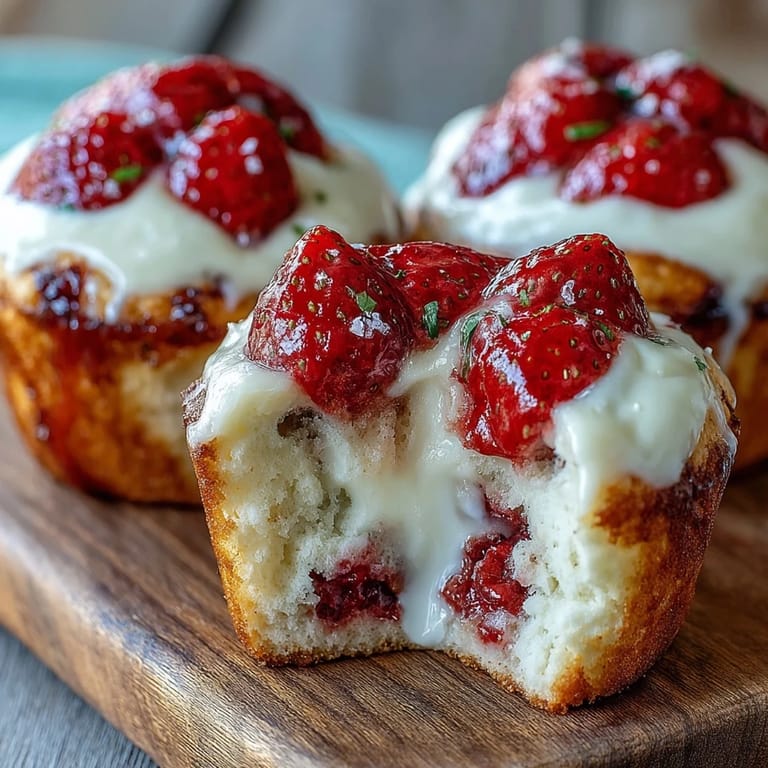
I made these for a friend's daughter's volleyball tournament bake sale, packed them in a cute box with a checked cloth napkin, and watched them sell out in under an hour. The girl came back asking for more, which felt like winning something important—not just the tournament, but also proof that good food creates its own kind of magic.
Ingredients
- All-purpose flour (2 cups): The foundation that keeps these muffins tender rather than dense, and I always spoon and level instead of scooping straight from the bag.
- Baking powder and baking soda (2 tsp and 1/2 tsp): This combination gives you that perfect lift and tender crumb that makes people say 'wow' before they even taste the cream cheese.
- Unsalted butter, melted (1/2 cup): Melted butter creates moisture that keeps these fresh for days, which I learned the hard way when I tried softened butter once.
- Granulated sugar (2/3 cup for batter, 1/4 cup for filling): The batter sugar dissolves easily and adds just enough sweetness without overpowering the strawberries.
- Large eggs (2 for batter, 1 yolk for filling): They bind everything together and give the muffins structure that doesn't crumble when you bite in.
- Whole milk (1/2 cup): This creates tenderness that you simply don't get with water or buttermilk, trust me on this one.
- Vanilla extract (2 tsp total): A small amount transforms the entire flavor profile into something more sophisticated than basic muffins.
- Fresh strawberries, hulled and diced (1 1/2 cups): Quality matters here—pick berries that are ripe but still firm, and dice them right before mixing so they don't weep into the batter.
- Cream cheese, softened (8 oz): Full-fat cream cheese is non-negotiable for that silky filling that contrasts perfectly with the tender crumb.
- Coarse sugar for topping (2 tbsp optional): This catches the heat and creates a subtle crunch that adds another texture dimension.
Tired of Takeout? 🥡
Get 10 meals you can make faster than delivery arrives. Seriously.
One email. No spam. Unsubscribe anytime.
Instructions
- Heat your oven and prepare:
- Set the oven to 375°F and line your muffin tin with paper liners—they make cleanup easier and help the muffins bake evenly. If you skip the liners, just grease the cups lightly with butter or cooking spray.
- Mix the dry ingredients:
- Whisk together flour, baking powder, baking soda, and salt in a medium bowl, making sure everything is evenly distributed. Set this aside and don't touch it until you need it.
- Combine wet ingredients:
- In a large bowl, whisk the cooled melted butter with sugar until they're well combined, then beat in the eggs one at a time. Add milk and vanilla, stirring until smooth.
- Bring it together gently:
- Add the dry mixture to the wet mixture and stir just until combined—lumps are your friend here because overmixing creates tough muffins. Gently fold in the diced strawberries, being careful not to crush them.
- Make the cream cheese filling:
- Beat softened cream cheese with sugar and egg yolk until completely smooth and creamy, then stir in vanilla. This should be thick enough to hold its shape when you spoon it.
- Layer strategically:
- Spoon about two tablespoons of batter into each muffin cup, then add a heaping teaspoon of cream cheese filling in the center. Cover each with the remaining batter so the filling is completely hidden.
- Add sparkle (optional):
- Sprinkle coarse sugar on top of each muffin if you want that textured, bakery-style finish that catches light beautifully.
- Bake until golden:
- Bake for 22 to 25 minutes, checking that the tops are golden and a toothpick inserted into the muffin (avoiding the cream cheese center) comes out clean. They should smell absolutely incredible at this point.
- Cool with patience:
- Let them cool in the pan for five minutes so they set properly, then transfer to a wire rack. Serve them slightly warm for the best texture and that melting cream cheese moment.
 Pin it
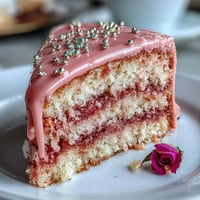
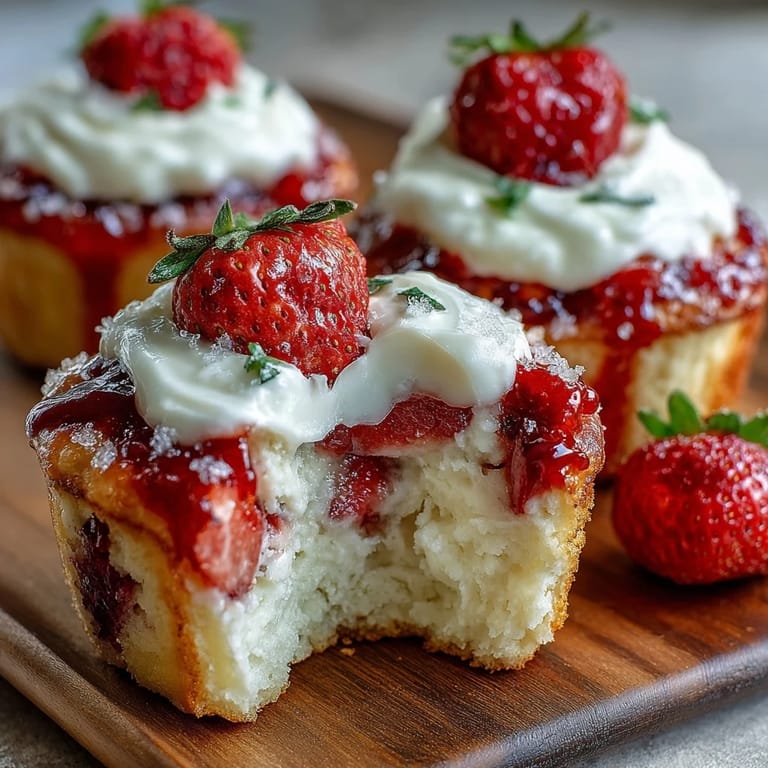
 There's something about pulling these from the oven and seeing that cream cheese slightly peeking through the golden top that makes all the small effort feel worth it. My sister now requests these for every breakfast gathering, and somehow these simple muffins have become the thing everyone remembers.
Variations That Actually Work
I've experimented with substitutions more times than I care to admit, and some actually improve the recipe. Blueberries create a different flavor story that feels more subtle and refined, while raspberries add a slight tartness that complements the cream cheese beautifully. Once I swapped half the all-purpose flour for whole wheat and the result was nuttier and heartier, which surprised me in the best way. The cream cheese filling is honestly so versatile that you could add a hint of lemon zest or even a tiny pinch of cinnamon if you're feeling adventurous.
Storage and Make-Ahead Tips
These muffins stay fresh in an airtight container for about three days at room temperature, though they're best eaten within the first two days when the texture is still perfect. You can also freeze them for up to two months, and I've found that pulling one out and microwaving it for 20 seconds brings back that just-baked warmth. Make-ahead tip: you can prepare the batter and filling the night before, keep them in separate containers in the fridge, and assemble the muffins first thing in the morning—it only adds five minutes to your prep time but makes a weekend morning infinitely easier.
When Fresh Berries Aren't Available
Winter baking doesn't have to mean sacrificing flavor, and I've made these with frozen strawberries more times than with fresh ones. The key is to use frozen berries that are unsweetened and not thawed before adding them to the batter—the cold actually helps them hold their shape better and prevents the batter from becoming too wet. I also fold them in very gently at the end, and sometimes I toss them lightly in a bit of flour first, which keeps them from sinking to the bottom of the muffins.
- Frozen berries should go straight from the freezer into the batter without thawing.
- If your frozen berries are very large, chop them into smaller pieces so they distribute evenly.
- You might need to add an extra minute or two to the baking time since the batter will be colder overall.
 Pin it
 These muffins have a way of turning an ordinary morning into something worth remembering, which is really all any recipe needs to do. Make them, share them with people you care about, and watch how something so simple becomes something people actually ask for by name.
Recipe FAQs
- → What kind of strawberries work best?
Fresh, ripe strawberries deliver the best flavor and texture in the muffins. Make sure they are hulled and diced into small pieces for even distribution.
- → Can I substitute cream cheese with another ingredient?
Full-fat cream cheese gives the creamiest texture, but mascarpone can be used as an alternative for a smoother filling.
- → How do I prevent the muffins from becoming too wet?
Avoid overmixing the batter after adding strawberries to keep the texture light and prevent excess moisture.
- → Is it necessary to use coarse sugar on top?
The coarse sugar adds a pleasant crunchy finish but can be omitted if you prefer a softer top.
- → Can these muffins be made ahead of time?
Yes, they can be baked in advance and stored in an airtight container for up to two days; reheat gently before serving.