 Pin it
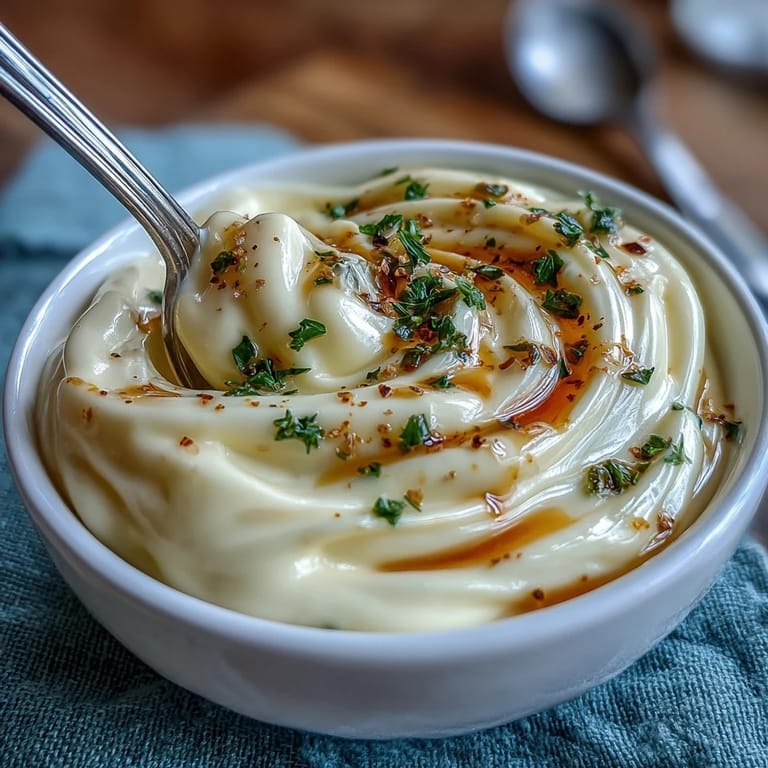
 My kitchen was unusually quiet one Sunday afternoon, save for the soft hum of the immersion blender and the hopeful clink of jars waiting to be filled. I'd run out of store-bought mayo—again—and decided to try making my own, wondering if five-minute mayonnaise could actually live up to its promise. As the oil and egg transformed into a creamy cloud right before my eyes, a subtle tanginess wafted up, hinting at a new tradition. There's something oddly satisfying about seeing ingredients come together so quickly with just a little patience and the right tool. That first batch proved how approachable homemade condiments can be, even when you're feeling impatient or hungry.
One evening, my partner wandered in just as the mayo finished thickening, skeptical at first but wowed after dipping a roasted potato. We ended up standing at the counter, sampling and tweaking seasoning until the jar felt truly ours. Sharing that taste test felt oddly celebratory, and now homemade mayo is requested at every picnic or burger night. It's the kind of kitchen moment that signals you've crossed over from meal assembler to joyful tinkerer. Even friends who've had their doubts leave impressed—especially after tasting a punchy aioli variant.
Ingredients
- 1 large egg (room temperature): Starting with a room temperature egg helps everything emulsify seamlessly and avoids split mayo nightmares.
- 1 tablespoon Dijon mustard: This punchy mustard gives flavor depth and helps stabilize the emulsion—don’t skip, even if you’re tempted.
- 1 tablespoon white wine vinegar or lemon juice: Choose based on mood—lemon juice brings brightness, vinegar brings complexity; both help with shelf stability.
- 1 cup neutral oil: Sunflower, canola, or light olive oil works wonders—don’t use a robust olive oil unless bold flavor is your aim.
- 1/2 teaspoon fine sea salt: Fine salt melts perfectly into the mayo, and you can taste and tweak as needed.
- 1/4 teaspoon freshly ground black pepper (optional): Adds a subtle kick—sometimes I skip when aiming for classic, sometimes I go heavier when feeling adventurous.
Tired of Takeout? 🥡
Get 10 meals you can make faster than delivery arrives. Seriously.
One email. No spam. Unsubscribe anytime.
Instructions
- Gather Ingredients:
- Find a tall, narrow blending container and line up the egg, mustard, acid, salt, and pepper; let yourself appreciate the simplicity.
- Add the Oil:
- Carefully pour the neutral oil on top—watching the layers settle is oddly meditative and ensures the emulsion starts right.
- Blend It:
- Sink the immersion blender all the way to the bottom, turn it on, and don’t move for about 10 seconds; you’ll notice the mayo cloud forming at the base.
- Emulsify Completely:
- Gently raise the blender, swirling up and down until every bit of oil disappears into creamy perfection; this usually takes about 30 seconds.
- Season and Taste:
- Pause and sample—add extra vinegar, lemon, or salt if needed, and make it truly yours.
- Store Properly:
- Scrape the finished mayo into a jar, seal tightly, and pop it in the fridge; enjoy within a week for best texture and flavor.
 Pin it
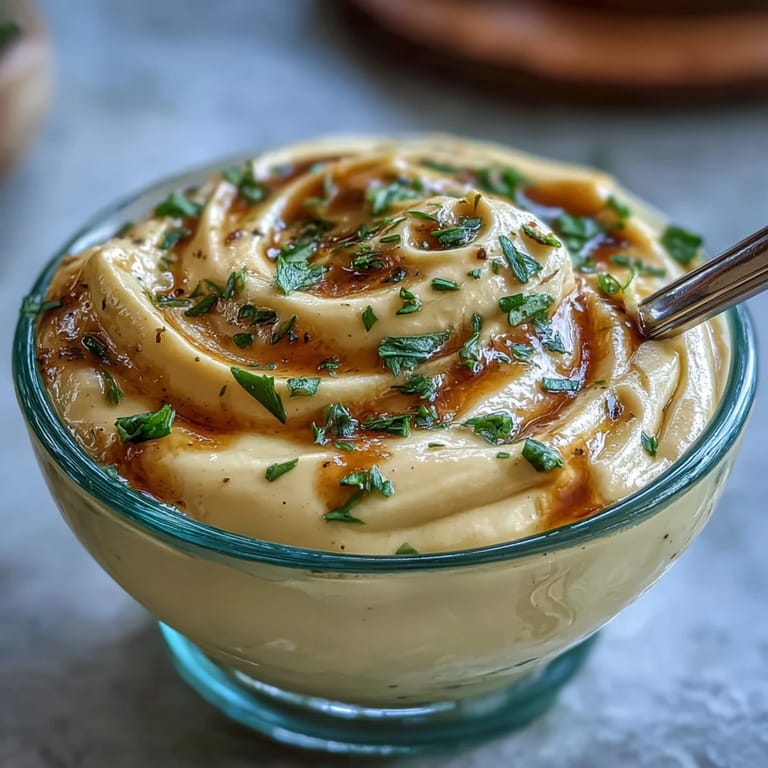
 The first time I brought homemade mayonnaise to a family potluck, my aunt quietly asked if I’d made the dip myself, then spent the afternoon telling everyone it was “the best real mayo she’d ever tasted.” Seeing empty plates and happy faces—especially the surprise from mayo skeptics—gave me more joy than I’d expected from a simple condiment.
Choosing Your Oil Makes a Difference
I once experimented with extra-virgin olive oil, and while the texture was perfect, the flavor was overpowering for sandwiches. Swapping for neutral oils gives you a classic, creamy base, but sometimes a blend of half olive and half canola strikes a nice balance. The oil’s quality matters—if it tastes good on its own, it'll make great mayo.
Immersion Blender, My Secret Weapon
If you’ve ever tried to whisk mayo by hand and found yourself exhausted or facing a split mess, the immersion blender feels like magic. It delivers guaranteed results, and I can’t imagine reverting to manual mixing after seeing how quickly and reliably it works. Bonus: there’s virtually no cleanup and no drips like with a food processor.
Ways to Jazz Up Your Mayo
Sometimes I stir in chopped herbs or roasted garlic for a flavor-packed aioli, or a splash of hot sauce for spicy kick. Mayo doesn’t have to be boring; a little creativity turns it into a signature spread tailored to whatever you cook next. Try folding in lemon zest or smoked paprika for unexpected depth.
- If you want tangier mayo, just add more acid after blending and adjust for salt.
- Don’t add chunky mix-ins until after the main blending—otherwise, they’ll clog the emulsion.
- Fresh is best: homemade mayo never lasts as long as supermarket varieties, so use it within a week.
 Pin it
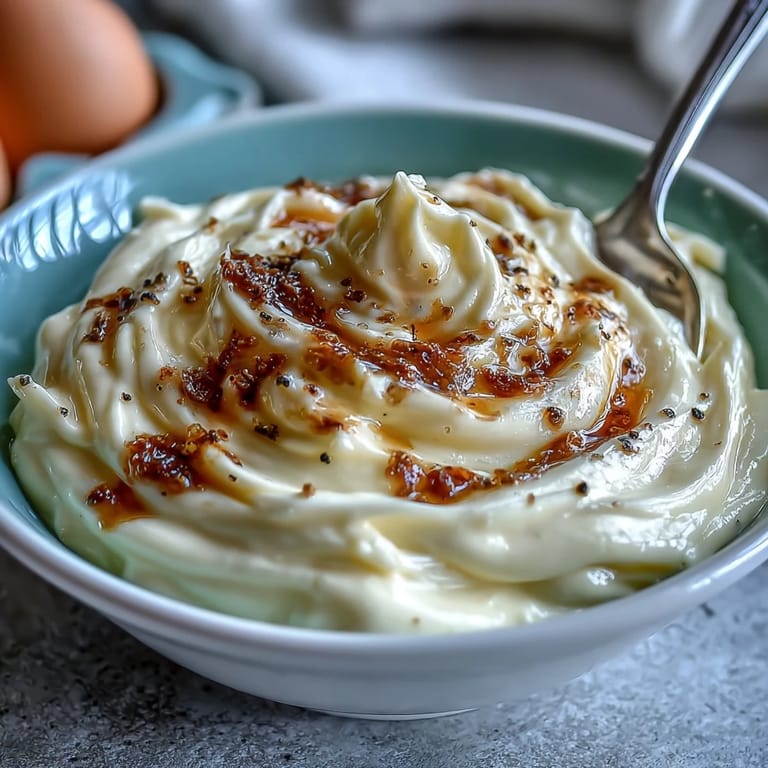
 Making mayonnaise from scratch truly makes you feel like a kitchen magician. Let yours become the reason for a delicious sandwich or an unforgettable picnic dip.
Recipe FAQs
- → Can I use olive oil instead of neutral oil?
Yes, olive oil works but imparts a stronger, distinct flavor to the mayonnaise.
- → Is it necessary for the egg to be at room temperature?
Room temperature eggs help with emulsification and ensure the mayonnaise thickens properly.
- → How can I make the mayonnaise tangier?
Add up to 2 teaspoons extra vinegar or lemon juice for a more pronounced tang.
- → What is the best storage method?
Transfer the finished mayonnaise to a clean jar, seal tightly, and refrigerate. Use within a week.
- → Can I add flavors like garlic?
For garlicky aioli, blend in a small garlic clove with the other ingredients.
- → Is it safe to use raw eggs?
Pasteurized eggs may be used for added safety, especially if concerned about using raw eggs.